Order App UI Changes
Now that our API is complete, we can start making some changes to the UI for realtime updates!
First things first
First we need to navigate to and build our order app to make sure everything is good to go. So from the /api directory, we need to run the following command in a terminal:
cd ../order-ui
npm install
npm run build
npm run dev
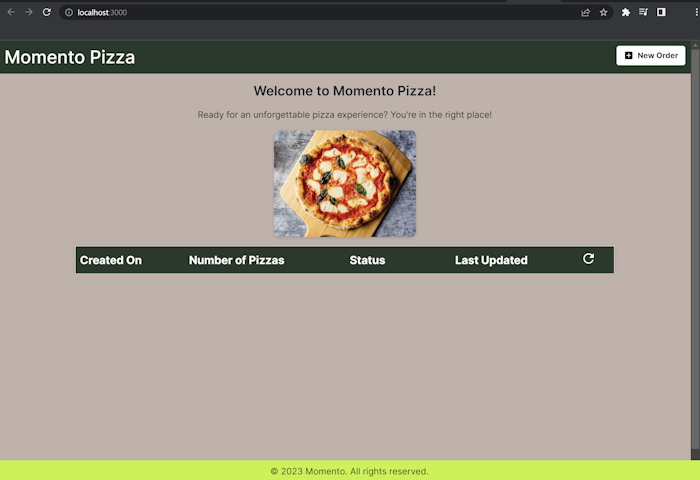
These commands will install all the dependencies for our project, build it, then start up a local server for us to view. After running the npm run dev command, you should see a line that says - ready started server on 0.0.0.0:3000, url: http://localhost:3000. This means your app is running locally on port 3000, so open your favorite browser and navigate to http://localhost:3000. You should get the home page of the app, which looks like this 👇 (it might take a second for it to compile and load the first time).
Subscribing for updates
In the order app, the only live updates we want are status changes. Remember, this is for end users who are ordering. We want them to be able to see when the status of their order is updated. So first, let’s navigate to the order id page by going to /order-ui/pages/orders/[id].js.
Import the topic client
The first thing we need to do is import the topic client and supporting classes from the Momento Web SDK.
import { TopicClient, Configurations, CredentialProvider } from '@gomomento/sdk-web';
Add that code snippet underneath the other imports at the top of the file. This will allow us to use the client to subscribe for updates.
Topic subscription
To make our webpage respond when the status changes of a specific order, we need to subscribe to the status-changed topic for the order. Copy and paste the function below in the main handler of the page:
const subscribeForUpdates = async (id) => {
  if (!topicClient) {
    const response = await fetch(`${process.env.NEXT_PUBLIC_ORDER_API}/tokens`);
    const data = await response.json();
    topicClient = new TopicClient({
      configuration: Configurations.Laptop.latest(),
      credentialProvider: CredentialProvider.fromString({ authToken: data.token })
    });
  }

  await topicClient.subscribe('pizza', `${id}-status-updated`, {
    onItem: (data) => updateStatus(JSON.parse(data.valueString()).status),
    onError: (err) => console.error(err)
  });
};
Just like our Lambda functions, we first check if the topicClient has been initialized because we’d prefer to save time and reuse an existing connection if possible. If is has not, we call our Token Vending Machine endpoint for a temporary token and initialize the client.
Then, we subscribe to the dynamic topic that includes the order id in the name. The DynamoDB stream handler publishes to the {id}-status-updated topic whenever the status changes on a specific order. The id comes from the path parameter of our webpage.
When we recieve data, we call the updateStatus function to set the React state in our web app with the new status from the message.
Make it work
To make this actually work, we need to add two more things. Check out the updated code below:
const statusRef = useRef(status);

let topicClient;

useEffect(() => {
  if (id) {
    fetchOrder(id);
    subscribeForUpdates(id);
  }
}, [id]);
We define the topicClient globally on line 2 and call our new subscribeForUpdates function in the useEffect handler that runs when we land on the page or when the id path parameter changes.
With these changes, our order app now has live updates! Let’s go update the Admin App with some similar changes.